Wednesday, March 19, 2014

Another Project for March Challenge at Craft for the Craic

Hi Everyone, I am sorry I have been a bit quiet here lately, but I have been working away on projects for Craft for the Craic !!
This months Theme is:-

 
Today I have a card which I made for My Sister-in-Law's Birthday!!
I started with an A5 cream card, I cut a piece of pearlecent green cardstock to mat on top of it leaving a small border all around. I have had these Lady toppers for years so I decided it was time to break them out :-) I then cut a strip of My favourite lace and stuck it down with some Glossy Accents.
I placed the topper slightly on top of the lace to hide the edge.

I had this pretty Prima flower in my stash and I thought it was the perfect colour, the pink picks up the colour in the background on the topper, I used Glossy Accents to stick this down to the top left hand corner.

I cut a single flower from a piece of trim and stuck this down on the bottom right hand corner,
I put the Happy Birthday Sentiment which came with the toppers on top.
 
Why not pop over and join in the CRAIC!! To enter the Challenge CLICK HERE 
 
Thank You for visiting with Me today,
Happy Crafting,
Michelle xx

Friday, March 7, 2014

March Challenge at Craft for the Craic

Hi Everyone, I am back today to share My Project for the March Challenge over at Craft for the Craic
This Months Theme is Something that includes Green :-) We had such a Fantastic response for February with 54 entries, let's see if We can top that this month!! :-)

My first project this month is an Altered Box, here is the step by step process!! :-)

The first two photo's seem to have been deleted from My Camera, so You will have to imagine a blank wooden box which was first painted in a green Acrylic paint!! :-)

I tore a piece of manuscript paper and inked around the edges and stuck it to the top of the box with Claudine Hellmuth Multi Medium in Matte.
I then used some of the same green paint and swiped it over the paper with a baby wipe.

I cut the pink flower from some wrapping paper and again stuck it down with the Multi Medium.

once dry I sprayed the whole box with Glimmer Mist Iridescent Gold.

A close up, hopefully You can see the lovely Shimmer effect.


inside top of box.


Interior of box

I cut out an image of a lady from a collage sheet and an image of a butterfly.
I stuck the butterfly behind the lady to give Her wings.
I put some foam pads behind the wings to give them some dimension, and curled them down.
I stuck Her to the box with Multi Medium.

I cut around the hand which looked like it was holding something and put a small foam pad behind the wrist, this gave some support and dimension.

I made a wand from a matchstick, painted it gold and put some glossy accents to give it a shine and punched a small star from some gold mirror card and stuck it to the top. I placed it behind the hand and curled the fingers to look like they are holding it.

I then stuck some pretty lace all the way around the lid using glossy accents.

Once this was dry I then stuck some flat back pearl string on top of the lace again using
glossy accents.

I cut a single ribbon rose from a length if trim and stuck it down on the bottom left corner.
I then stuck a green Cameo on to a pink button and placed them on to the rose to make a
pretty embellishment.

I had a metal butterfly and made a body for it using a charm with Believe on it and placed a pink pearl in the hole to make a head. I then stuck it to the top left of the box.

I stuck a small paper rose in the lady's hair

I used a Sakura Stardust pen colour Clear Star to add some detail to the wings on the lady.

A view of the Finished Box

I also put some false handles on the sides of the box to add the finishing touches.


I hope You enjoyed seeing the step by Step process, If You have any questions just leave Me a comment and I will get back to You.
Hope You will join us over at Craft for the Craic
 
Happy Crafting,
Michelle xx

Monday, February 17, 2014

Sickness and an Almost New Project!!

Hi Everyone, Sorry I have been absent the last week, We are all sick :-(
Nothing major just sinus, migraine, cough and that's just Me!!
Hubby has sinus and headache!!
Little Man is the worst, Sinus, Earache, cough, temp and eyes stuck together!!! :-(

I had great crafting plans, and had started a few projects before all this hit, only got a Birthday card finished Saturday morning for My Sister-in-Law before she arrived at lunchtime!!!

I won't get a lot done this week with little Man still being sick and on midterm!!

I am going to show you a project I made Christmas Week for Evan (Little Man)
He wanted a Toy Cupboard that was on Peppa Pig which of course is not real!!!
He said Santa can get any toy, to which I replied a Toy Cupboard is not a toy!!
Thank goodness he agreed and that saved a lot of heart ache when Santa could not deliver!!!

I waited almost a week after Christmas day to give it to Him and it was very well received, it is a toy cupboard for his peppa figures and also doubles up as a classroom!! :-)

This is the front, I used Bo Bunny Blast Off 12x12 paper pack.
I had been hoarding this for a long time!! :-)
I used 2 Tim Holtz hitch fasteners as little knobs on the doors.
I couldn't make up My mind about putting His name on the left door.
Might still go back and do it!!

Inside view, I wanted to use a lot of the different patterns!!

Back view

Another to show doors better!

This is Evan, the minute I gave it to him he ran and gathered lots of His Peppa toys to play!

A lot of the Peppa Figures all sitting to attention in their Classroom!

The proud Teacher!!


Evan teaching Irish Words!!
 
I was so Happy that He liked it, I got over having to cut into My Paper Pack!! LOL!!
 
I hope to be back in a couple of days with a new project.
See You then,
Happy Crafting,
Michelle xx

Monday, February 10, 2014

Heart Projects Step by Step!!

Hi, I am back today with a step by step on the notebook in the last post.
I didn't take photo's of the process on the canvas but I will explain a bit about how I did it!! :-)

I got this A5 size Diary, and decided it needed a bit of cheering up! :-)

I had gotten the January Creativity Magazine and there was a free gift with it, Stamp set and paper pack. I used one of the papers a small floral, it was A4 size so I cut it in half and tore the edges.
I stuck it down on the front and back covers using Claudine Hellmuth Studio Multi Medium in Matte.

I left it to dry and cut some Jute ribbon and sprayed it with Glimmer mist Iridescent Gold.
It's hard to see in the photo but it gave it a nice shimmer. I used the Multi Medium to stick this down to the left side of the book.

Next I got a small Doily and sprayed it with the same glimmer mist.
I dried it with My Heat Tool and stuck it down with the Multi Medium.

Next I took another one of the free papers from the pack it had a lovely pattern of tape measures.
I stamped the Freebie heart stamp onto the paper with Black Archival ink and cut it out, and again stuck it down with the Multi Medium.

I cut the letters from Grungepaper using the Tim Holtz Wordplay die.
I covered them with Black Acrylic Paint Dabber, when that was dry I again covered them with Distress Crackle Paint in Clear Rock Candy.
I left this to dry overnight as I feel it gives a better effect when left to dry naturally.
I again stuck these down with the Multi Medium, where the letters overlapped the jute I needed to add a bit of Glossy Accents to keep it down.

Nearly there!! LOL :-)
Next up I stuck on 2 buttons using the Glossy Accents.
 

I had this Forever Friend 3D Embellishment pack for ages and thought it was too cute to use!
Still can't believe I did!!
I stuck it down on 3d foam along with a few heart shape gems!
 

My second project is a small canvas.
I painted the canvas all over with a dark brown Acrylic paint,when that was dry
I covered it all over again with a generous layer of Crackle Medium.
I left this to dry overnight and then went over it with a coat of white Acrylic paint.
This gave the lovely crackle background.
I sprayed it with Glimmer Mist Iridescent Gold and Perfect Pearls Mist in Perfect Pearl.
I used a Spellbinders Scalloped Heart Die to cut out the Photo and inked around the edge.
It was stuck down with Glossy Accents.
Down the two sides I stuck down some pretty lace and then put a string of flat back pearls the
 centre of the lace. I stuck three little roses in the corners.
I stamped the wording using a Kaisercraft Stamp set, I stuck it behind a bookplate,
and added two flat back pearls for the finishing touch.
The wording says:
 
"Remember Life's Treasures are People not Things"

Well I hope You enjoyed seeing My projects.
I made them for the New Irish Challenge Blog
Why not come over and join in the fun!!
 
Hope to be back tomorrow.
Happy Crafting,
Michelle xx

Saturday, February 8, 2014

Big News Reveal!!!

Hi Everyone, I am so Excited to share the News I hinted at on My first post!!!
My Friend Eithne has started a New Challenge Blog Craft ForThe Craic.
She has asked Me to be on the Design team with Her, I am very excited, as far as I know this is the First Irish Challenge Blog!!
I invite everyone to come on over and take part in our first Challenge, and there will also be a Design Team Call soon so if You are interested in that leave a comment!!

This is one of the Projects I made the theme this month is Hearts!!

 
I will be back tomorrow with  step by step pics on how I made this!!
If I can figure out how to rotate the pics!!
 
This is the Second Project!!


The wording says
Remember Life's Treasures
are People not Things.
 
Well that's it for now, I hope You will pop over to Craft ForThe Craic and join in with all the Fun!!
 
Happy Crafting,
Michelle xx


Friday, February 7, 2014

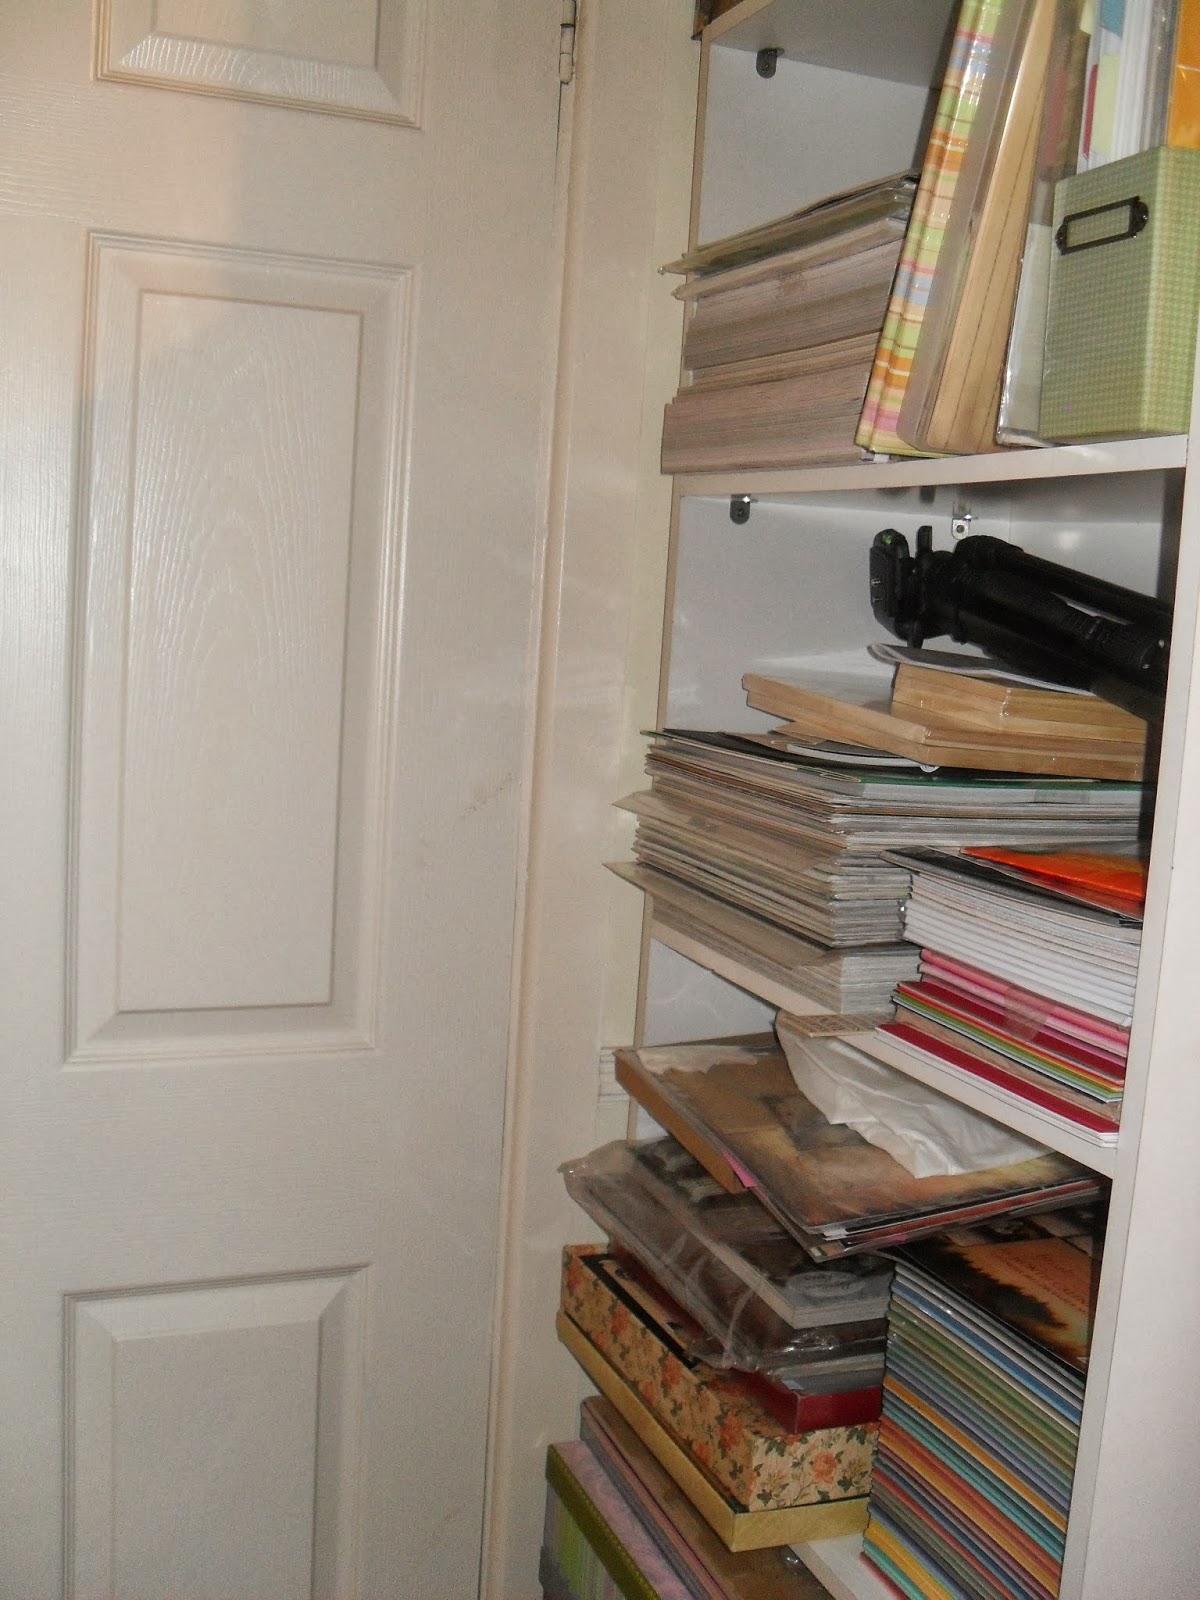
Quick Tour of My Craft Room!!

Hi, For todays post I am going to give You a quick tour of My Craft Room!!
It is not a glamorous room but it is functional and I know where everything is!!
I took lots of photo's but most of them I took tall so they are sideways on the computer!!
I hope I can rotate them properly, fingers crossed!! :-)


Well I think that worked!! All of the units and Desks are from Ikea.
 
I will also post a quick video of the room!!
 
If You have any questions leave a comment below!
Thanks for visiting!
 
Happy Crafting,
Michelle xx